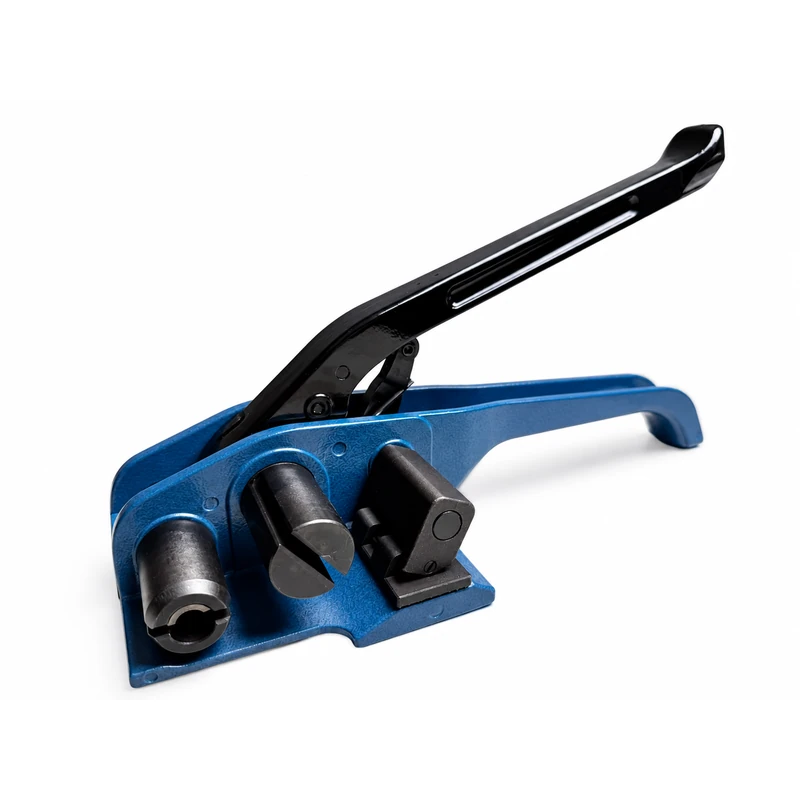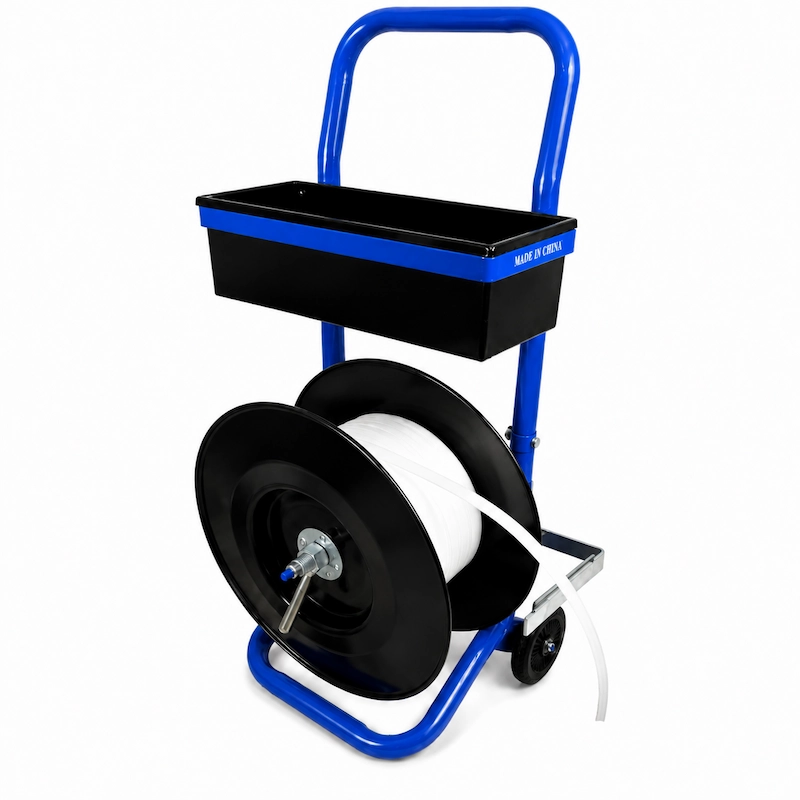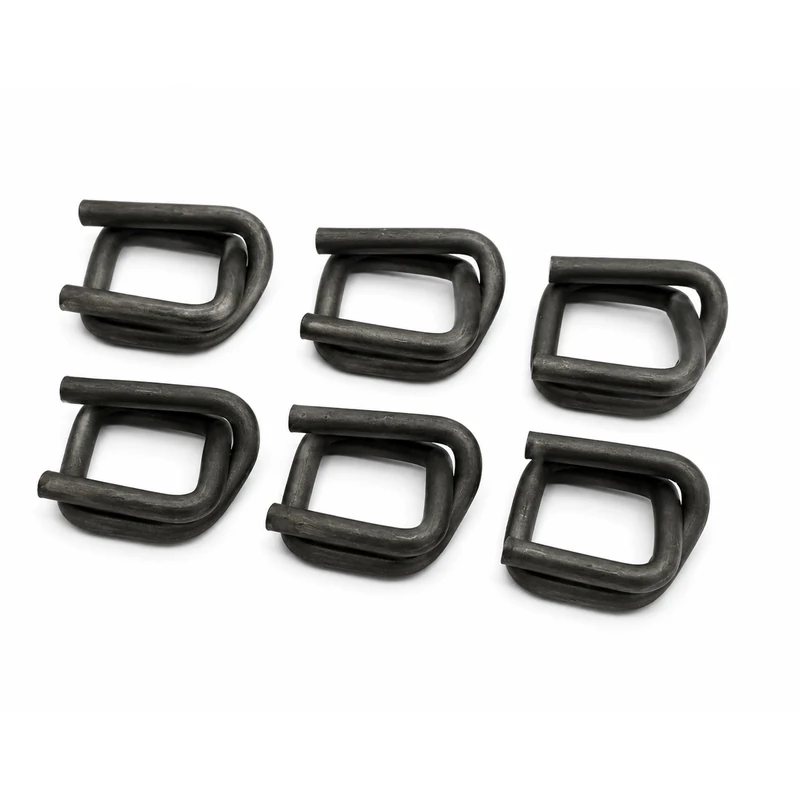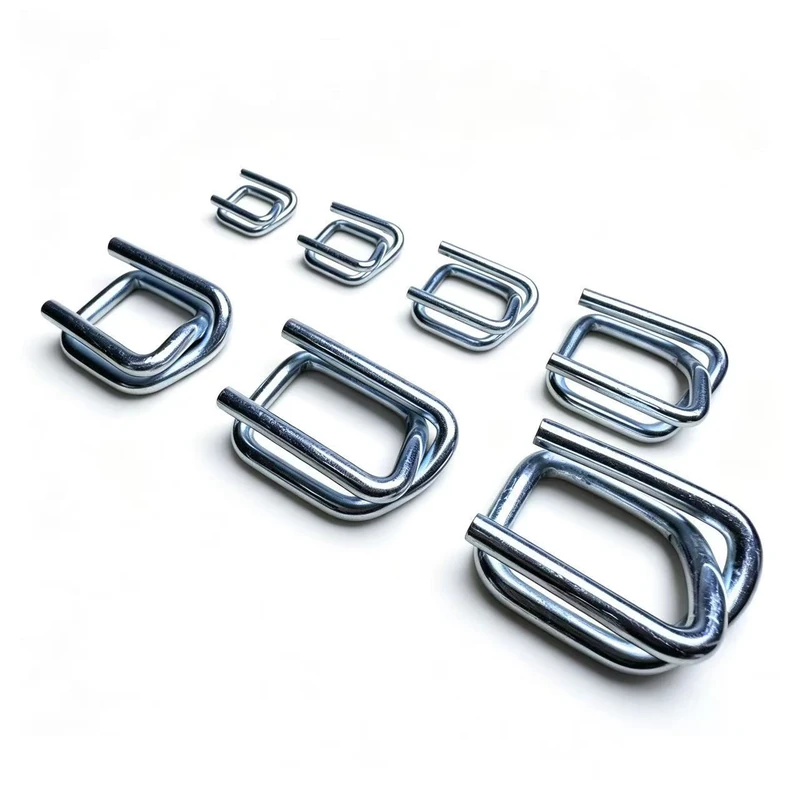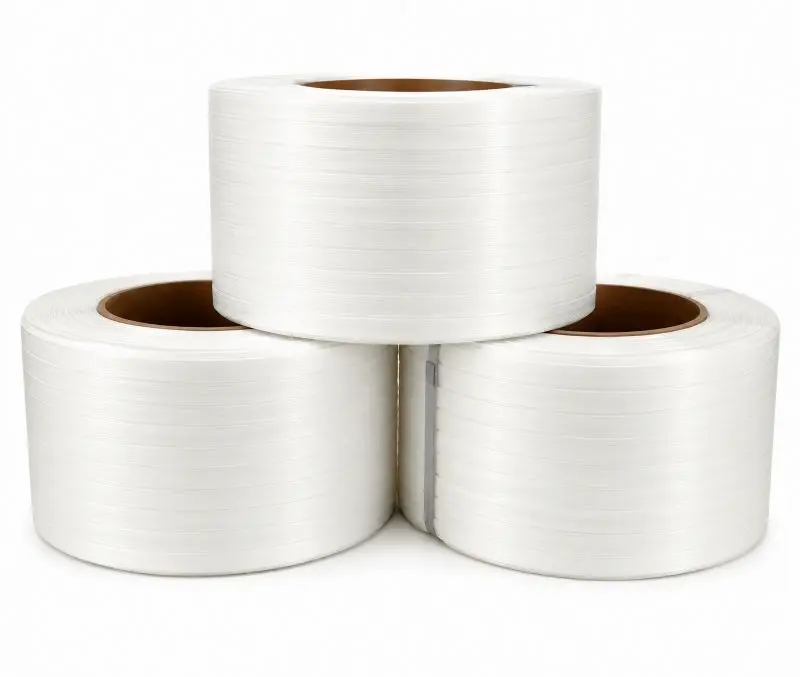
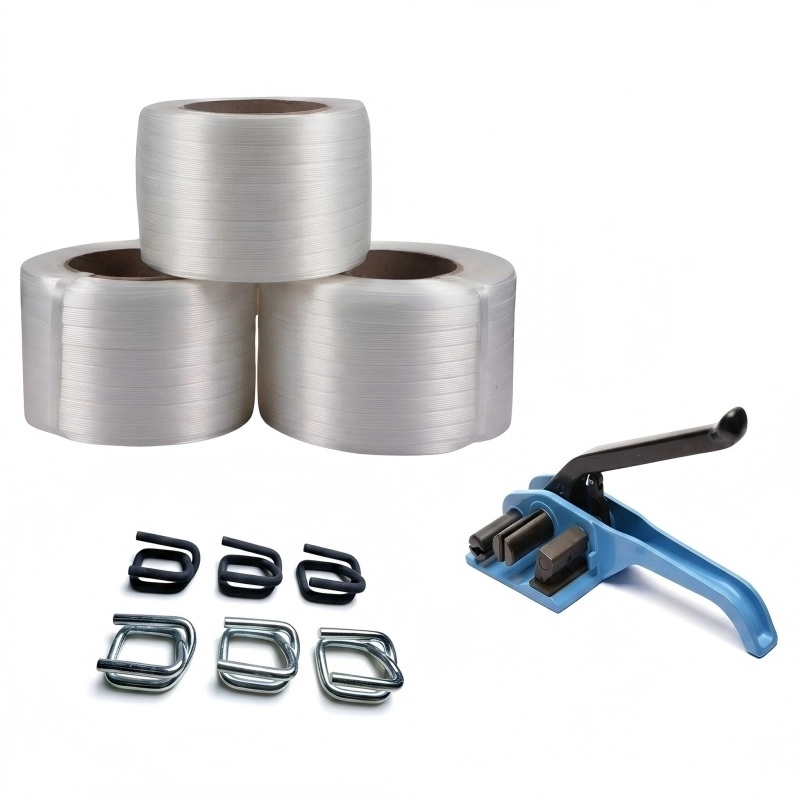

Composite strapping troubleshooting should start with the complete system, not just the strap itself.
When a strap slips through the buckle, becomes loose after tensioning, or breaks during application, the cause may be related to the galvanized wire buckle, threading method, pretension, tensioner position, sharp edges, or the way the complete system is matched.
Before replacing the strap with a stronger grade, it is worth identifying where the problem actually occurs.
This guide covers three common problems with composite strapping — slipping, loss of tension, and breakage — and explains what to check and how to correct them.
1. Why Does Composite Strapping Slip Through the Buckle?
If composite strapping slips at the buckle after tensioning, start by checking the connection rather than assuming the strap is too weak.
Three areas are particularly important.
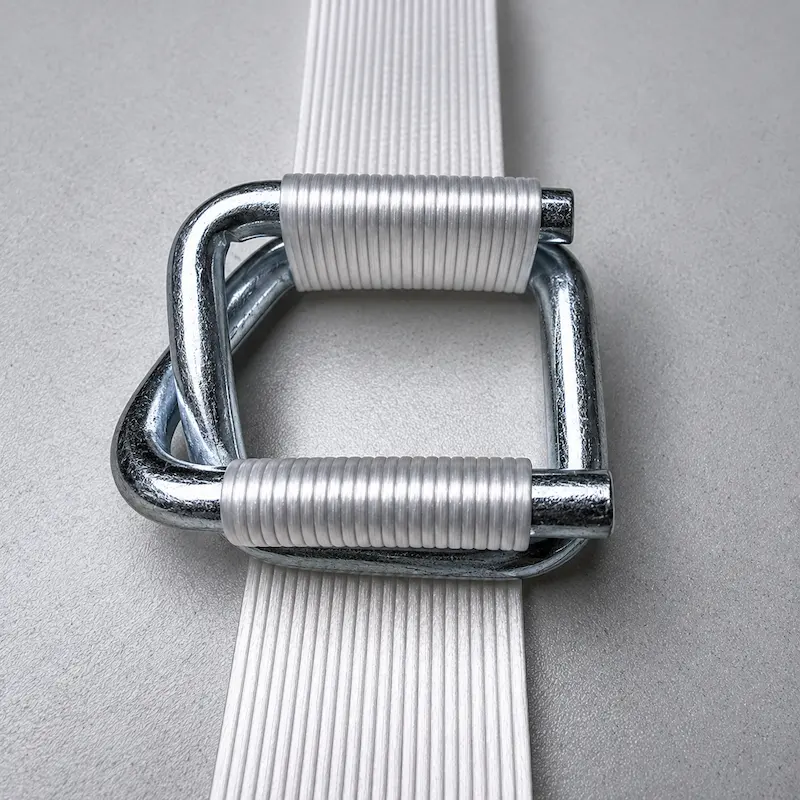
Check the Galvanized Wire Buckle Orientation
The buckle should be correctly oriented so that the strap follows the intended path around both sides of the buckle.
As tension is applied, the strap and buckle form a friction-based mechanical connection. Incorrect buckle positioning can interfere with this engagement and make it more difficult for the connection to hold as intended.
Check How the Composite Strap Is Threaded
The strap should sit flat around the galvanized wire buckle without unnecessary twisting or crossing.
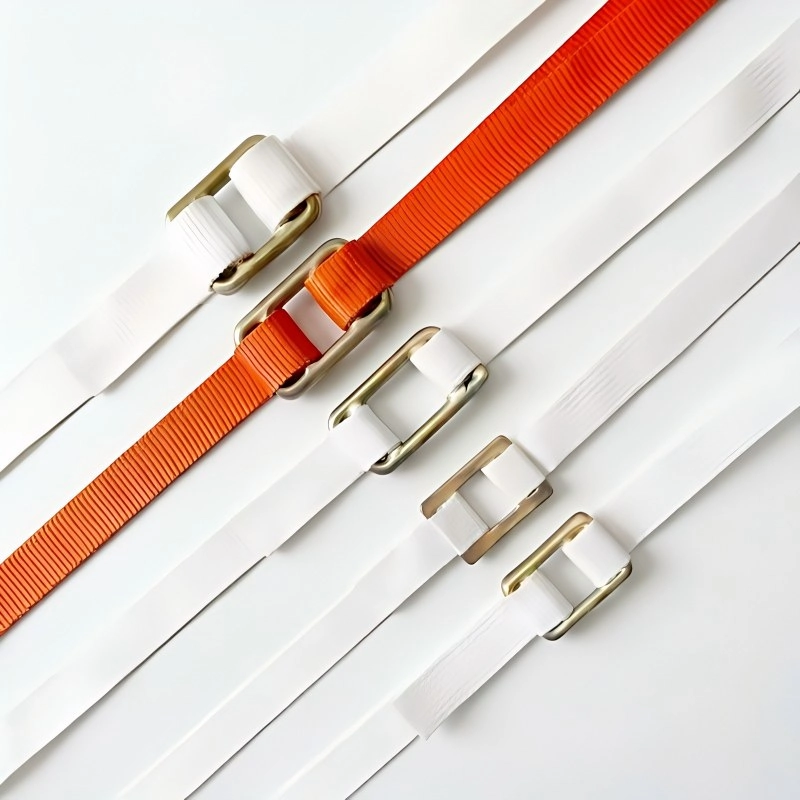
Incorrect threading can reduce proper buckle engagement and may contribute to strap slippage. Use the six-step guide below to check that the composite strap is correctly threaded through the buckle.
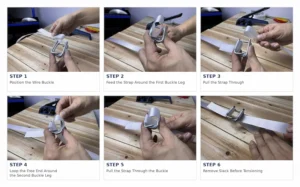
After threading, check that both sections of the strap sit correctly around the buckle and that the strap is not twisted. Remove excess slack by hand before installing the tensioner.
For the complete application process, see our How to Use Polyester Composite Cord Strapping: A Step-by-Step Guide.
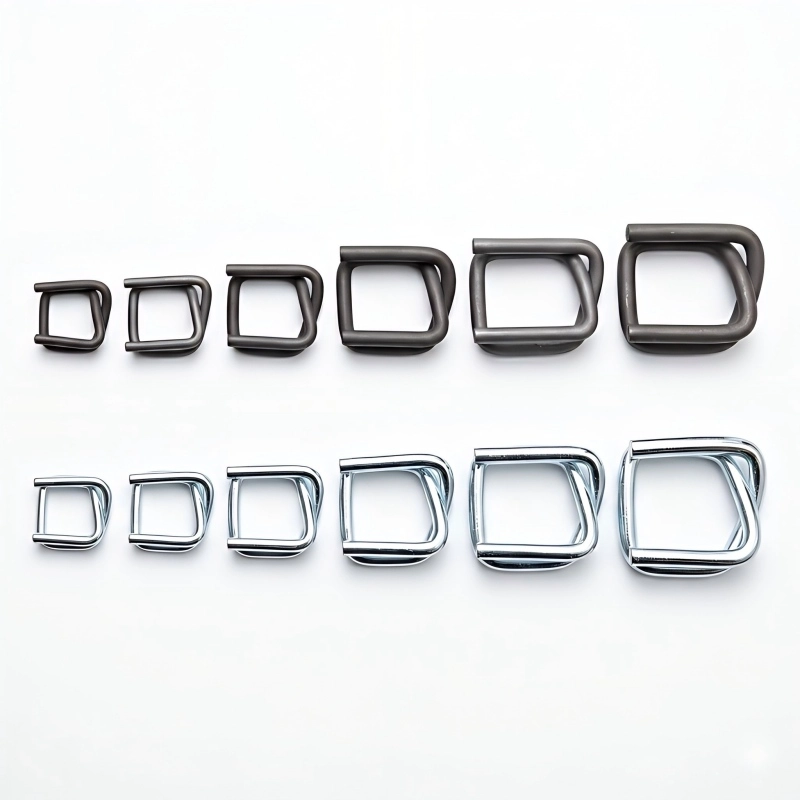
Check Whether the Buckle Matches the Strap
A buckle should not be selected by strap width alone.
For example, two composite straps can both be 19 mm wide but have different strength grades and require different buckle wire diameters.
The strap width, strap strength, buckle dimensions, wire diameter and required system performance should be considered together.
For detailed buckle selection, see How to Choose the Right Wire Buckle for Polyester Strapping.
2. Why Does Composite Strapping Lose Tension?
A strap that feels tight near the tensioner does not necessarily mean that tension has been transferred effectively through the buckle and around the entire load.
If the finished strap becomes loose, check the following points.
Too Much Slack Was Left Before Tensioning
Before installing the tensioner, pull the loose strap through the galvanized wire buckle by hand.
The purpose of the tensioner is primarily to apply the final controlled tension, not to take up a large amount of loose strap around the load.
Removing slack first gives the tool a better working range and makes the tensioning process more controlled.
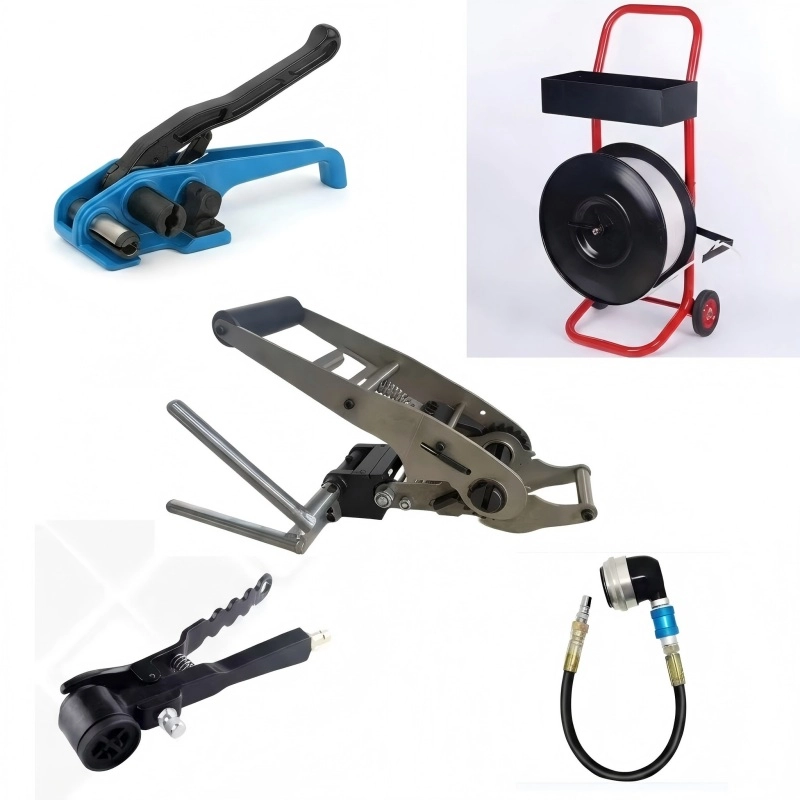
The Tensioner Was Positioned Too Close to the Buckle
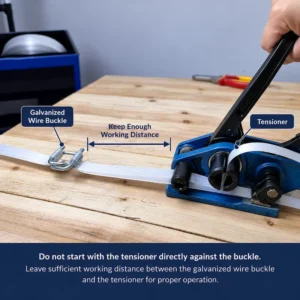
Do not start with the tensioner directly against the buckle.
Leave enough working distance between the buckle and the tool.
As tension increases, strap movement through the buckle can change the distance between the buckle and tensioner. If there is too little space from the beginning, the available tool travel may become restricted before the desired tension is achieved.
There Is Resistance Between the Buckle and Tensioner
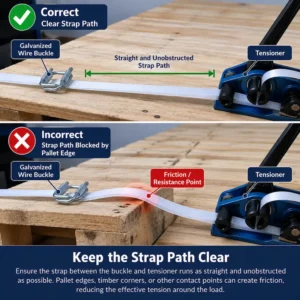
Look at the strap path between the buckle and the tool.
The strap should move as freely and directly as practical. A pallet edge, timber corner, packaging component or other contact point between the buckle and tensioner can introduce additional friction.
In that situation, the strap close to the tensioner may feel tight while tension is not being transferred as effectively through the buckle and around the rest of the load.
Keep the working section of strap as straight and unobstructed as practical during tensioning.
The Load Has Settled or Compressed
Sometimes the tensioning process is correct, but the load changes afterward.
Cartons, timber, soft packaging and some palletized products can settle or compress after the initial strapping operation. When the dimensions of the load decrease, the strap may feel looser even though the buckle has not slipped.
In suitable applications, a wire-buckle composite strapping system may allow adjustment or re-tensioning. Before doing so, inspect the strap and buckle for damage.
3. Why Does Composite Strapping Break?
When composite strapping breaks, first identify where the failure occurred.
The location often provides useful information about the likely cause.
Breakage at a Sharp or Abrasive Edge
If damage is concentrated where the strap contacts timber, metal, a pallet corner or another hard edge, inspect that contact point.
Composite strapping contains high-tenacity polyester yarns, but concentrated cutting or abrasion can still damage the coating and load-bearing fibers.
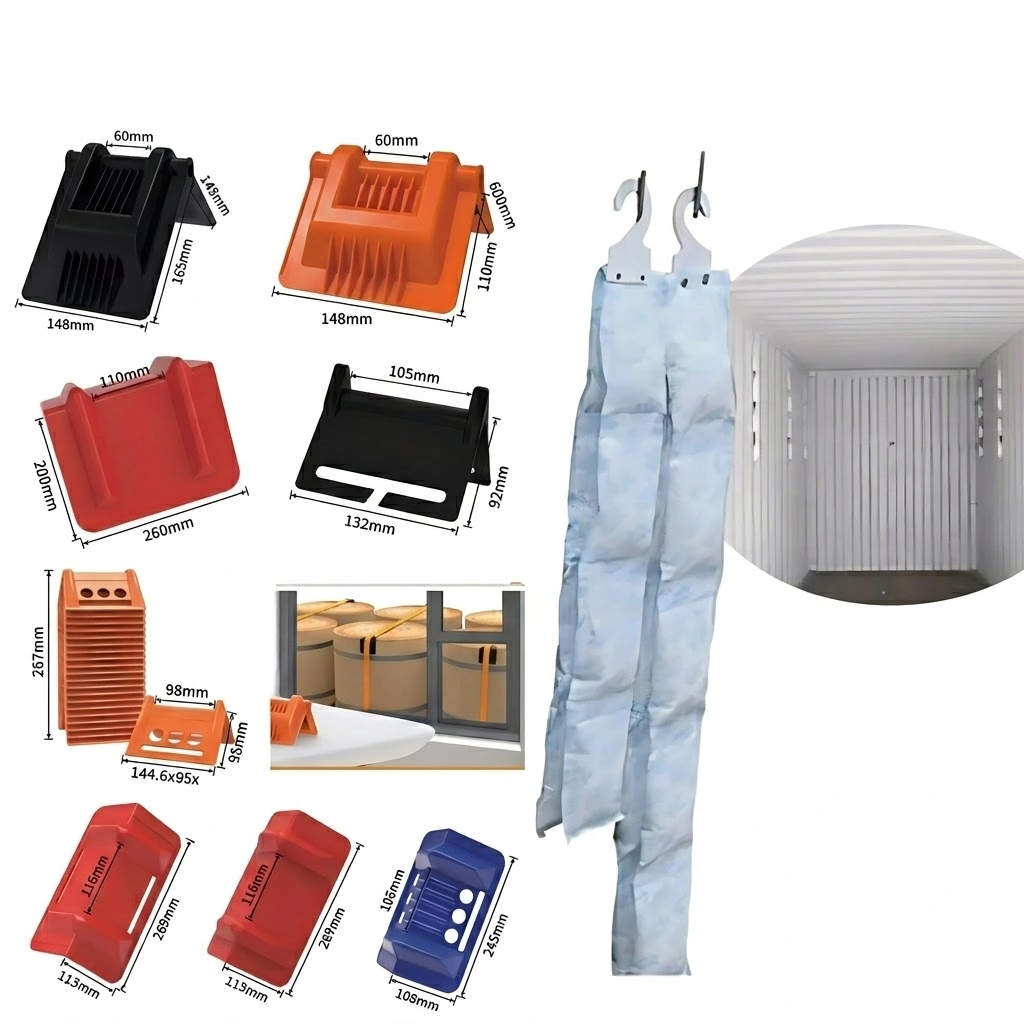
Use suitable edge protection where required and avoid routing the strap directly across sharp surfaces.
Breakage During Tensioning
More tension does not automatically provide better cargo securing.
Over-tensioning can unnecessarily stress the strap, buckle, packaging and cargo.
Apply tension gradually and observe the complete connection rather than continuing to tension simply because the tool can still be operated.
The Strap Was Already Damaged
Do not tension composite strapping that already shows significant cuts, severe abrasion, damaged fibers or other obvious deterioration.
A locally damaged section may fail below the expected strength of an undamaged strap.
The Strap Specification Is Too Light for the Application
If the strap repeatedly fails without obvious edge damage or installation problems, check whether the selected strength grade is appropriate for the application.
Do not evaluate this only by strap width.
The required securing system depends on factors such as the cargo, packaging, transportation conditions, securing arrangement and complete strap-and-buckle system.
4. Correct Tensioner Setup: Three Things to Check
If buckle threading is correct but the finished strap still does not achieve satisfactory tension, check these three points before changing the strap.
1. Remove the slack first
Pull excess strap through the buckle manually before using the tensioner.
2. Leave working distance
Do not place the tensioner immediately against the buckle.
3. Keep the strap path clear
Avoid unnecessary edges or resistance between the buckle and tensioner.
Then apply the final tension gradually while observing the buckle, strap and cargo.
VIDEO
How to Tension Composite Strapping with a Galvanized Wire Buckle
This video demonstrates the complete tensioning process, including buckle setup, slack removal, tensioner positioning and final tensioning.
5. Quick Composite Strapping Troubleshooting Guide
Problem Possible Cause What to Check
Strap slips at the buckle Incorrect threading or buckle orientation Check the strap path through the galvanized wire buckle
Buckle does not hold as expected Buckle does not match the strap Check strap width, strength grade and buckle specification
Strap remains loose Too much initial slack Remove slack by hand before tensioning
Cannot achieve enough final tension Tensioner starts too close to the buckle Leave sufficient working distance
Strap feels tight only near the tool Resistance in the strap path Check for edges or friction between buckle and tensioner
Strap becomes loose later Cargo or packaging has settled Inspect the load and re-tension where appropriate
Strap breaks at a corner Sharp or abrasive contact Use suitable edge protection
Strap breaks during tensioning Excessive tension or existing damage Inspect the strap and apply tension gradually
Repeated failure despite correct application Incorrect strap/system selection Recheck strap strength and complete system specification
6. Do Not Diagnose the Strap in Isolation
One of the most useful troubleshooting principles is to treat the components as a system:
Composite Strapping + Galvanized Wire Buckle + Tensioner + Application Method
Linear strap strength alone does not determine how the finished connection will perform.
The buckle specification and wire diameter, system strength, threading method, pretension, tool setup and contact with the cargo can all affect the finished securing system.
This is also why simply switching to a stronger composite strap may not solve a slipping or tension-loss problem.
If the actual cause is incorrect threading, an unsuitable buckle, excessive friction or improper tensioner setup, increasing strap strength does not correct that cause.
7. What to Check Before Replacing the Strap
If you are troubleshooting an existing composite strapping application, check the system in this order:
Buckle threading → Buckle specification → Initial slack → Tensioner position → Strap path → Cargo edges → Strap condition → Strap strength
This sequence helps separate an application problem from a product-selection problem.
For a new application, strap and buckle selection should also consider the cargo type, packaging, transportation conditions and required securing arrangement.
Frequently Asked Questions
Why does composite strapping slip through a wire buckle?
Common causes include incorrect buckle orientation, incorrect threading, or a buckle that is not properly matched to the composite strap.
Check the connection first before assuming that a stronger strap is required.
Why is my composite strapping still loose after using a tensioner?
Check whether excess slack was removed before tensioning, whether the tensioner had enough working distance from the buckle, and whether friction or an obstruction prevented the strap from moving freely.
Also consider whether the cargo or packaging compressed after the initial tensioning.
Why does composite strapping break near the edge of a load?
Localized breakage near a cargo edge can indicate cutting or abrasion.
Inspect the contact surface and use suitable edge protection where required, particularly around sharp or abrasive metal, timber, pallet or crate edges.
Should I simply use stronger composite strapping if the current strap breaks?
Not automatically.
First identify whether the failure is caused by strap strength, edge damage, over-tensioning, an unsuitable buckle or another application issue. A stronger strap does not correct an installation or system-matching problem.
Final Troubleshooting Checklist
When composite strapping slips, loses tension or breaks, do not look at only one component.
Check:
Is the galvanized wire buckle correctly oriented and threaded?
Is the buckle correctly matched to the strap?
Was excess slack removed before using the tensioner?
Is there enough working distance between the buckle and tensioner?
Is the strap path clear of unnecessary resistance?
Is the strap rubbing against a sharp or abrasive edge?
Is the strap damaged?
Is excessive tension being applied?
Is the selected strap strength appropriate for the application?
Has the cargo settled or compressed after tensioning?
Finding the actual cause first makes it much easier to correct the problem without unnecessarily changing the entire strapping system.